How to Add a Bokeh, Blur or Gradient Background to a PNG
Give any transparent PNG from PremiumPNG.com a new background right on the image page - solid colour, gradient, soft bokeh lights or a blur made from the picture - and download it as PNG, WebP or JPG. Plus: turn a PNG into a vector EPS.
What Export Options can do
Export Options turn a transparent PNG into a ready-to-use picture without any photo editor. Pick a format and a background, watch the live preview, and download the full-size file.
- PNG, WebP, JPG or RAW
- Solid colour backgrounds
- Linear and radial gradients with presets
- Bokeh lights in 13 shapes
- Blur backgrounds in 8 styles
- Live preview before you download
- PNG to EPS, SVG and PDF converter
- The original never changes
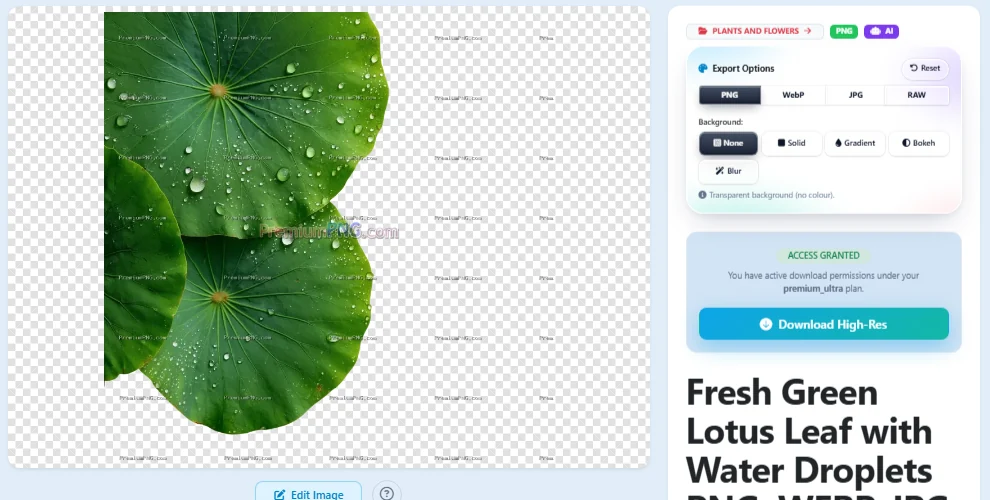
1Open Export Options on the image page
Open any PNG on PremiumPNG.com. Next to the preview you find Export Options. First choose the file format at the top:
- PNG - keeps the transparent background (best quality).
- WebP - small files for websites, transparency kept.
- JPG - for photos and printing; JPG has no transparency, so it always gets a background.
- RAW - plain pixel data without a file header, for special software (the page shows how to open it).
Under Background you choose what goes behind the picture: None (transparent), Solid, Gradient, Bokeh or Blur. The preview changes at once, so you see the result before you download.
2Solid colour or gradient background
Solid puts one colour behind the picture - click the colour square to pick any colour.
Gradient blends two colours. Pick the two Colours or click one of the Presets, swap them with the ⇄ button, and choose the direction: top to bottom, left to right, diagonal or radial (from the centre). Balance moves the point where the two colours meet.
3Bokeh background: soft lights behind your PNG
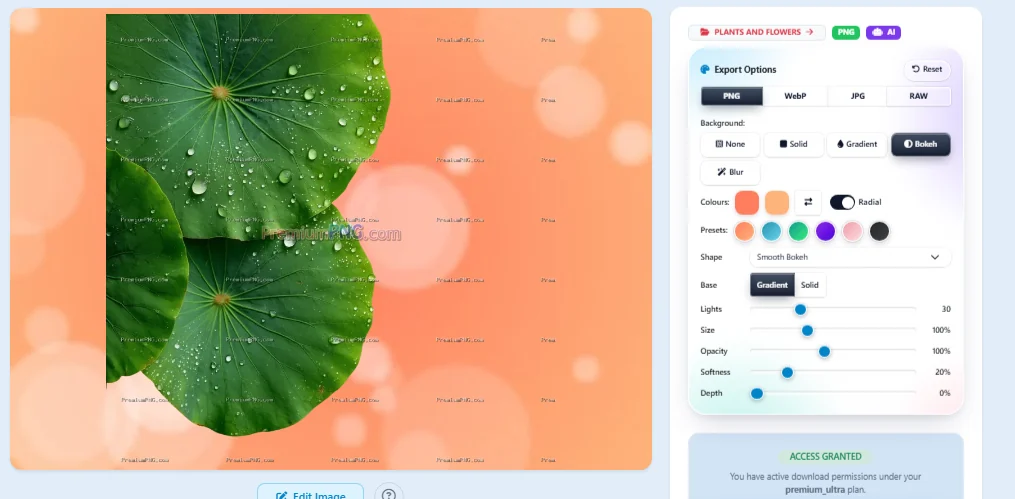
Bokeh adds the soft, out-of-focus lights you know from portrait photos. It uses the two colours above it:
- Linear / Radial switch - the colours run diagonally, or from the centre outwards (radial) like a spotlight.
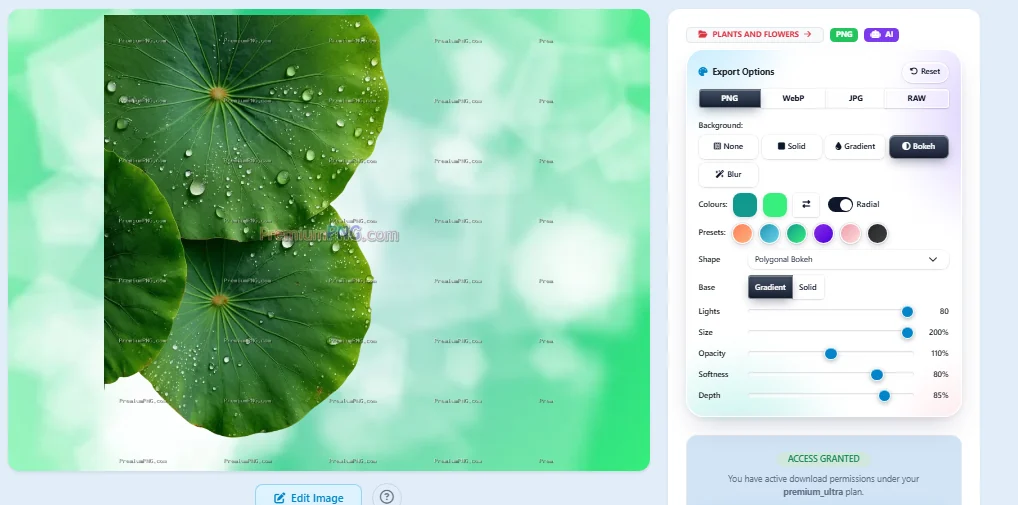
- Shape - Creamy, Smooth, Sharp-edged, Bubble, Ring, Onion-ring, Polygonal, Hexagonal, Octagonal, Golden dust, Anamorphic streaks, Rainbow leak and Cinematic oval.
- Base - Gradient, or Solid for one colour only.
- Lights (how many), Size, Opacity, Softness and Depth (depth of field: near lights sharper, far lights softer).
The lights are the same every time for the same image, so the download looks exactly like the preview.
4Download the picture with its new background
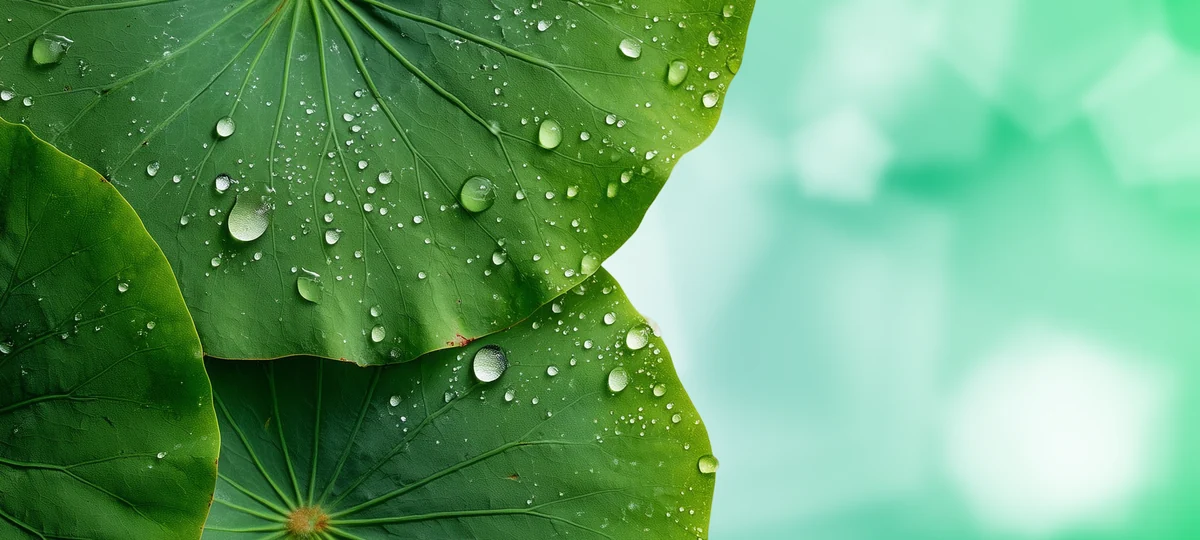
Click Download High-Res. The background is made in full size on our server, and the picture is saved in the format you chose. Below: the lotus leaf PNG exported as a JPG with a green polygonal bokeh background - ready for a banner, a website header or a social media post.
The downloaded file has no watermark. Reset brings every setting back to the start.
5Blur background made from the picture itself
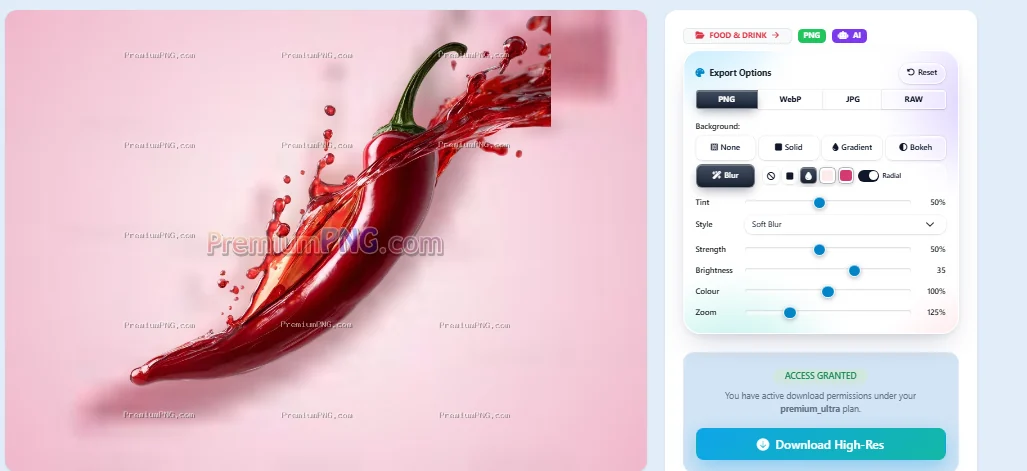
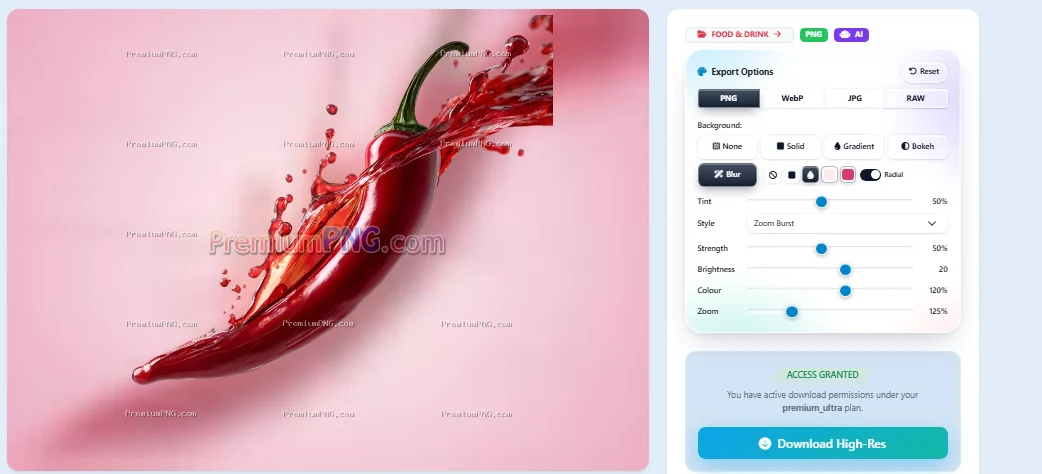
Blur makes a soft background from the picture itself - the colours of the image are blurred and spread behind it, so the background always matches. Choose a Style:
- Soft Blur, Frosted Glass, Dark Cinematic, Motion Blur, Vertical Motion, Zoom Burst, Dreamy Glow and Pastel Haze.
Then set Strength, Brightness, Colour (saturation) and Zoom. The small buttons next to Blur add a colour wash (Tint): none, one colour or a gradient - also with the Linear / Radial switch.
6Turn a PNG into a vector with the PNG to EPS converter
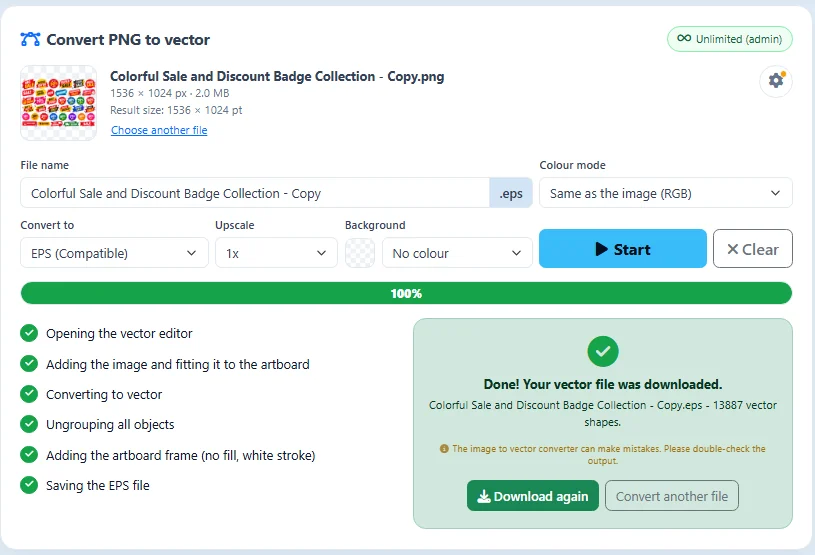
Need a vector instead? Open the PNG to EPS converter, drop a PNG or JPG, choose EPS, SVG or PDF and press Start. The picture is traced into real vector shapes on an artboard with the size of your picture, and the file is downloaded.
- Upscale 2x, 4x or 8x makes the vector bigger without losing quality.
- ⚙ Settings › Anchor points: Normal is best for most pictures. Choose More or Maximum when the picture has small letters or fine details.
Tracing is done automatically and can make mistakes, so always open the result and check it before you use it. All settings step by step: How to convert a PNG to EPS.
All settings at a glance
Every setting shows its result in the preview at once. Reset brings all of them back.
| Setting | Where | What it does |
|---|---|---|
| PNG / WebP / JPG / RAW | Format | the file type you download |
| None | Background | keep the transparent background |
| Solid | Background | one colour behind the picture |
| Gradient | Background | two colours: down, across, diagonal or radial |
| Bokeh | Background | soft out-of-focus lights in 13 shapes |
| Blur | Background | a blurred background made from the picture |
| Linear / Radial | Bokeh, Blur tint | colours across, or from the centre outwards |
| Lights · Size · Opacity | Bokeh | how many lights, how big and how strong |
| Softness · Depth | Bokeh | soft edges and depth of field |
| Style · Strength · Zoom | Blur | type and amount of blur |
| Reset | Export Options | back to the start settings |
| Anchor points | PNG to EPS converter | more points for small letters and fine details |
Perguntas e respostas
Who can use Export Options?
Is the original file changed?
Why does JPG not have a transparent option?
Does the download look like the preview?
What is the difference between Bokeh and Blur?
Why does my vector have rough small letters?
Is the PNG to EPS converter always right?
Try it on your next download
Open any PNG, pick a background, and download it ready to use.
Ver imagens PNG Ver os planos